How to Use Your Property Website Submittal Form

Realty Interface Property Info
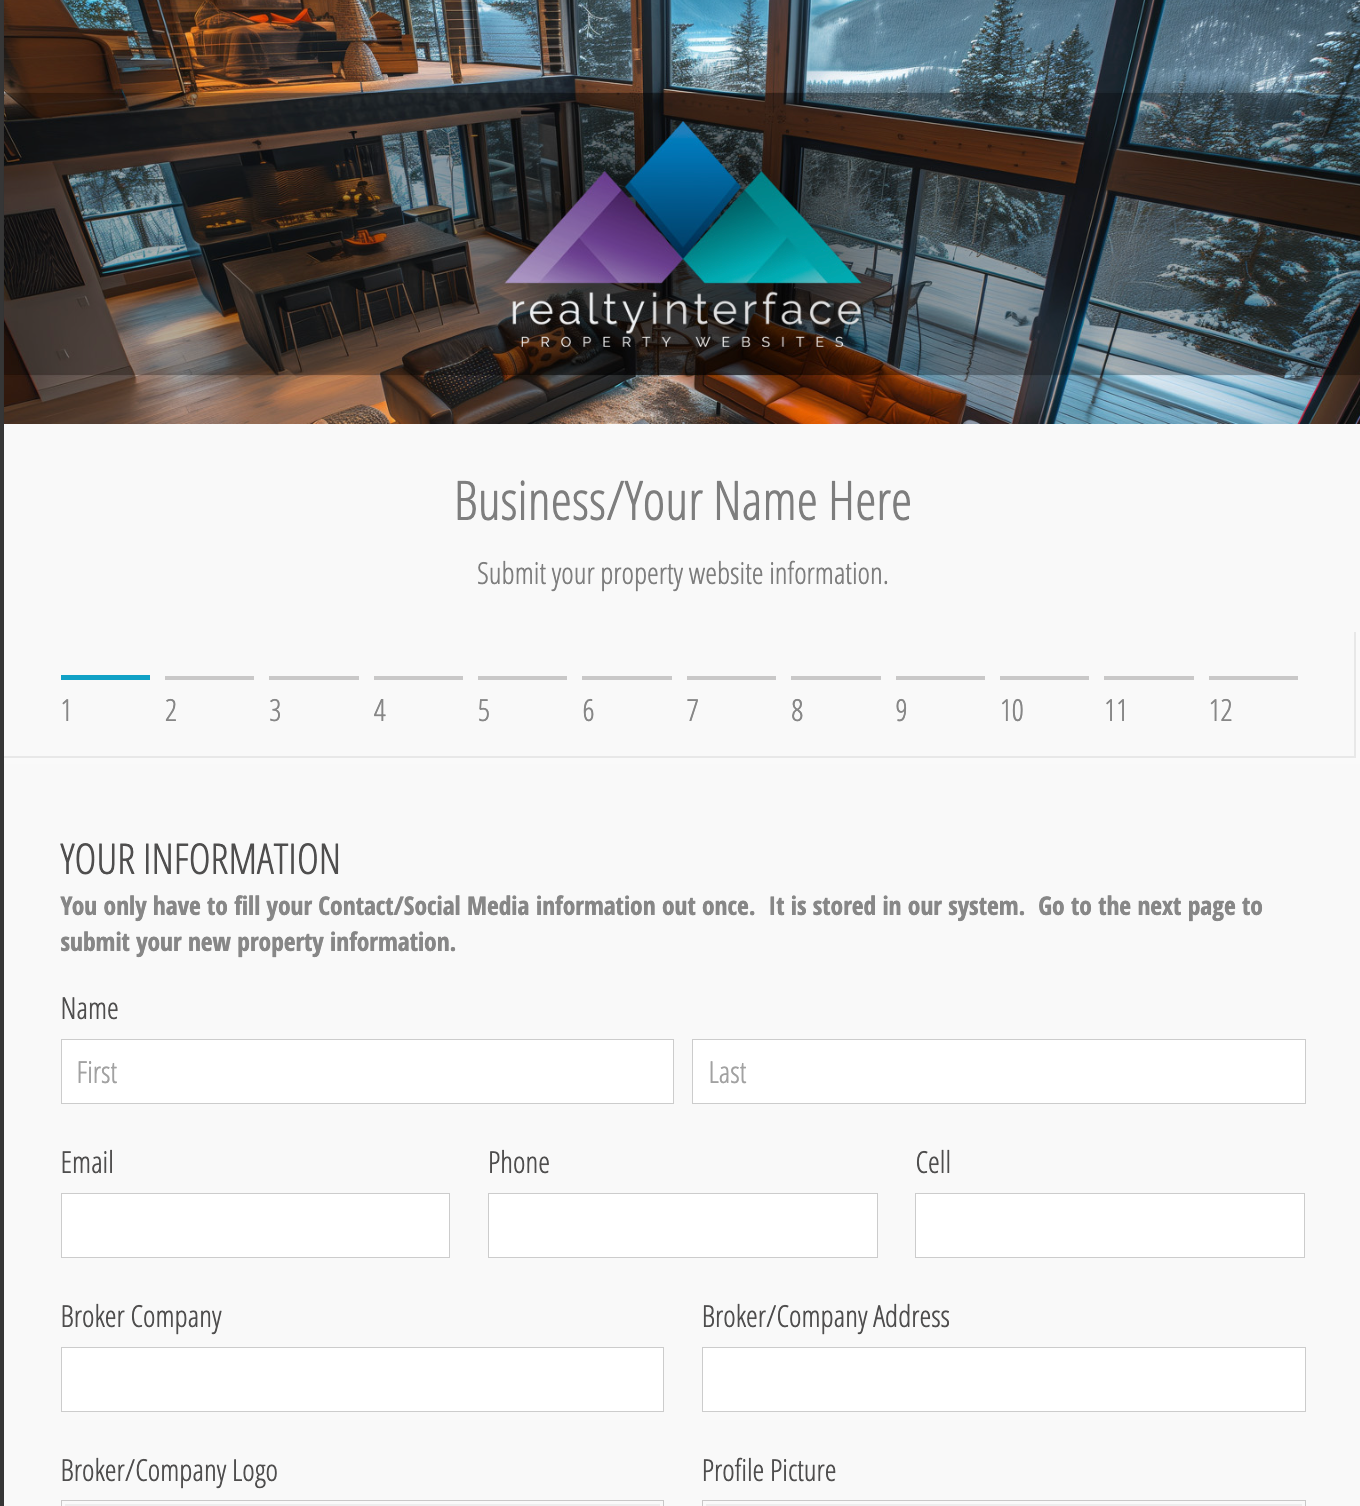
Submittal Form to Customize for Your Business

Thank you for purchasing our form template! Follow these simple steps to update the form’s title with your own business information and contact information so you can start collecting property details from your clients right away.

Realty Interface Logo

Template License & Usage Agreement

By accessing this form template, you agree to the following terms:

  • This template and its structure, design elements, and layout are the exclusive property of Realty Interface, Inc.
  • Images and graphics are not included with this template due to copyright laws. You must upload your own images and graphics for use in your version of the template.
  • You are purchasing an annual license for use — not ownership.
  • You may change the form title, email settings, and payment options to fit your business.
  • The Realty Interface logo must be replaced with your own logo at the top of the form.
  • You may not resell, redistribute, or share the original template link.
  • All intellectual property rights for the template design remain with Realty Interface, Inc.
  • Usage rights expire if the annual license is not renewed.

© Realty Interface, Inc. All rights reserved.

Click the orange “Use This Template” button.

Rename your Form and Save

From the Use Template pop up window, fill out the new form title and save.

Update Before Using

NOTE: Images are not included with your form. We display them to help you identify the layout of your property website.

Change your Form Settings “Title”

Where to change it:

[Cognito Form Builder] → Click the form Title (top) or add a Content block → enter your company name.

Change your “From Email”

This is where you specify who your emails are from (your/company email).

Where to change it:

[Cognito Dashboard]Forms → Your Form → Entries → Settings (column on left) General (column on left) → update the Default Reply to Email

This is the global default sender for all email notifications coming from your form.

  • If you leave it blank, Cognito will send notifications from their default system address (something like no-reply@cognitoforms.com) but will display the name you set for the form.

  • If you set it to your own email (e.g., forms@realtyinterface.com), that’s what will appear as the sender.

Important:

  • Some email providers may flag emails as spam or fail DMARC checks if your “From Email” doesn’t match a verified domain.

  • For best deliverability, this should usually be a verified email under the licensee’s domain (e.g., info@theirbusiness.com) or they can leave it blank to use Cognito’s default

“To Email” for Property Submissions

This is will be the email you want to receive property submissions to.

Where to change it:

[Cognito Build Form]Click Workflow → Click the Submit Email

Click the Submit Email

Add your email here to collect property submissions.

Payment Settings (if you would like to collect payments through your form)

Where to change it:

[Cognito Form Builder] → click the Payment field → Connect Payment Account → link your Stripe (or update payment email).

To collect payments through your form, you will need to upgrade your Cognito account to PRO. ~ $19 per month.

Edit/add your package/service offerings

Where to change it:

[Cognito Form Builder] → click the Payment field → Connect Payment Account → link your Stripe (or update payment email).

Remove Realty Interface Logo Header

Where to change it:

[Cognito Form Publish] → click the Header field → Replace with your logo

Test your Form

Send yourself a test property submission

To download your form’s uploaded files (images/documents) in bulk:

  1. Click the form name in the sidebar to open the Entries page.

  2. Select the checkbox for the entries you want to download files from. Or, use the checkbox in the top left corner to select all entries at once.

  3. Open the Actions menu in the top right toolbar and select Download > Uploaded Files.

  4. The system will begin automatically packaging your files into a zipped folder for easy download. Depending on the volume of uploaded files, this process could take some time – feel free to leave the page. While performing other tasks won’t interfere with your download, each organization can only process one bulk download at a time.

  5. Once your files are ready, you will receive an email notification containing a link to download the zipped folder. Simply save and then unzip the file to access your files. At this point, the file is available for 24 hours. Please note that the maximum file download size is 100 GB. If your download exceeds that limit, you will receive an email that contains only the first 100 GB of selected files

Creating your property website

Start your monthly fee when you publish with your website!
Share with your client before publishing.
Pay monthly and cancel anytime.

No credit card required ~ Down/Upgrade anytime

Example Property Website
Tutorial

Example Pricing of Fees

Package What’s Included Example Fee
Basic Property Website Single story home, photos + property details only $99
Standard Property Website Homes up to 4,000 sq. ft. with optional floorplan/video $199
Premium Property Website Larger homes 4,000+ sq. ft. with video/3D/floorplans $399

Register & Start for FREE

Start your monthly fee when you publish with your website!
Share with your client before publishing.
Pay monthly and cancel anytime.

No credit card required ~ Down/Upgrade

START HERE

Hosting Fees for Property Websites

Enhanced

Starter

$29

PER MONTH
1 Active Property Website

$53

PER MONTH
5 Active Property Website

Enterprise

$130

PER MONTH
30 Active Property Website

Our Step by Step Tutorial Guides you Every Step of the Way

OUR STEP-BY-STEP TUTORIAL

Questions?
Let’s connect